> ## Documentation Index
> Fetch the complete documentation index at: https://docs.voltic.one/llms.txt
> Use this file to discover all available pages before exploring further.
# Install the Voltic FrostLine (Zigbee Thermostat)
> Install the Voltic FrostLine digital Zigbee thermostat for smart fan coil control in hotel rooms.
The Voltic FrostLine is a smart digital Zigbee thermostat for controlling 2-pipe / 2-way fan coils. It enables local and remote control, temperature measurement, time scheduling, and presence-based automation.
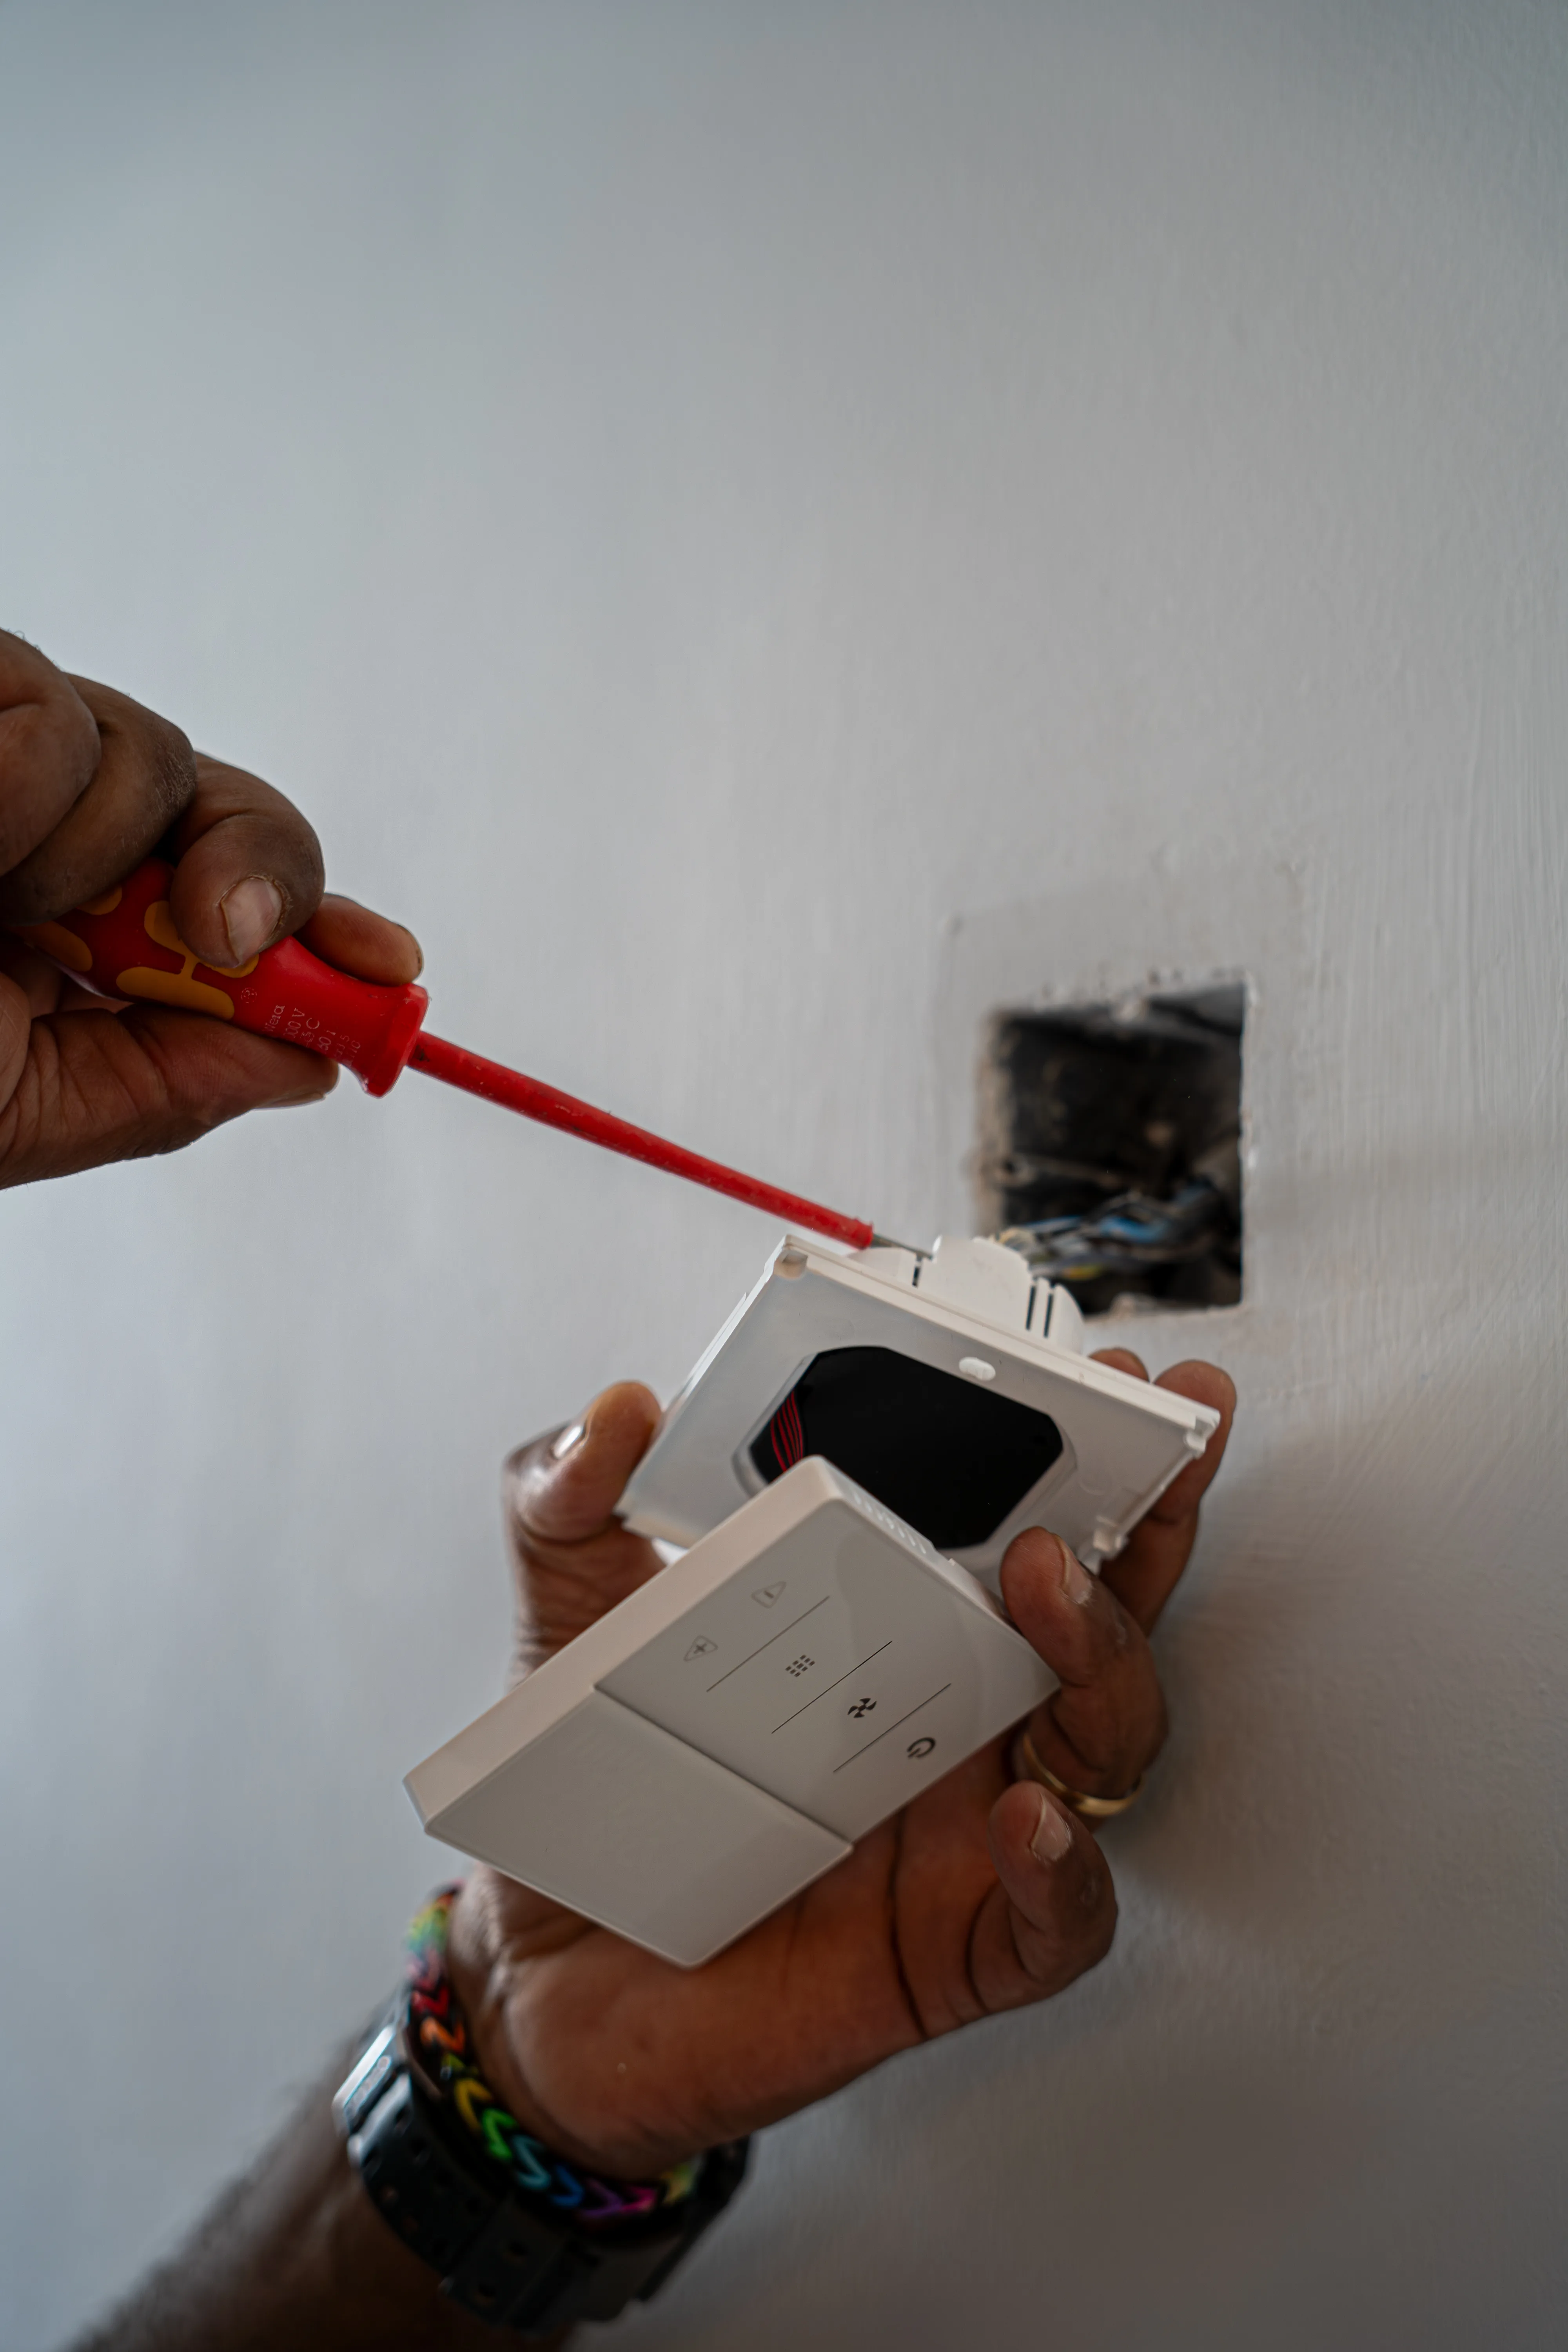
## Where to install it
Install the Voltic FrostLine **inside the room**, following these rules:
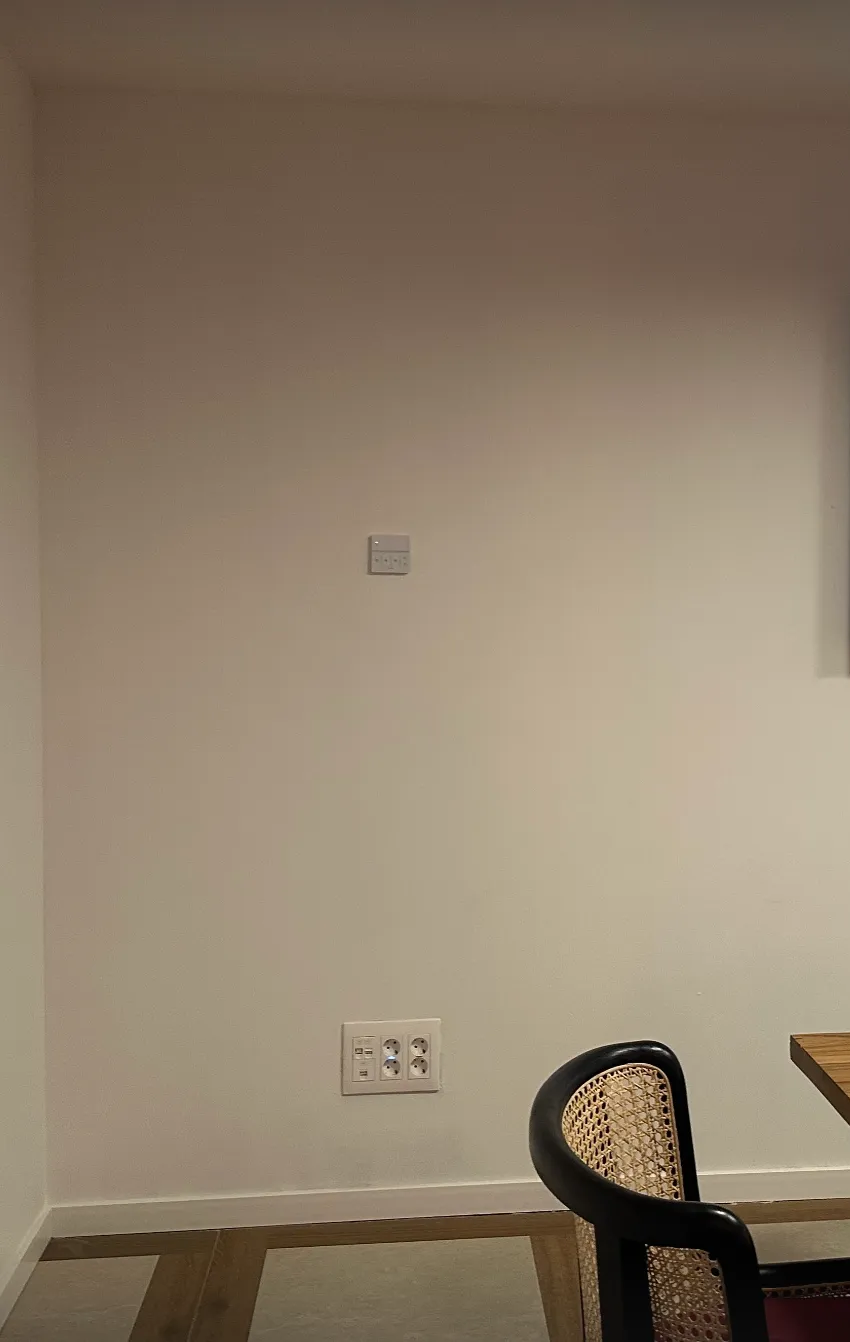
* At a **height of 1.5 m** from the floor
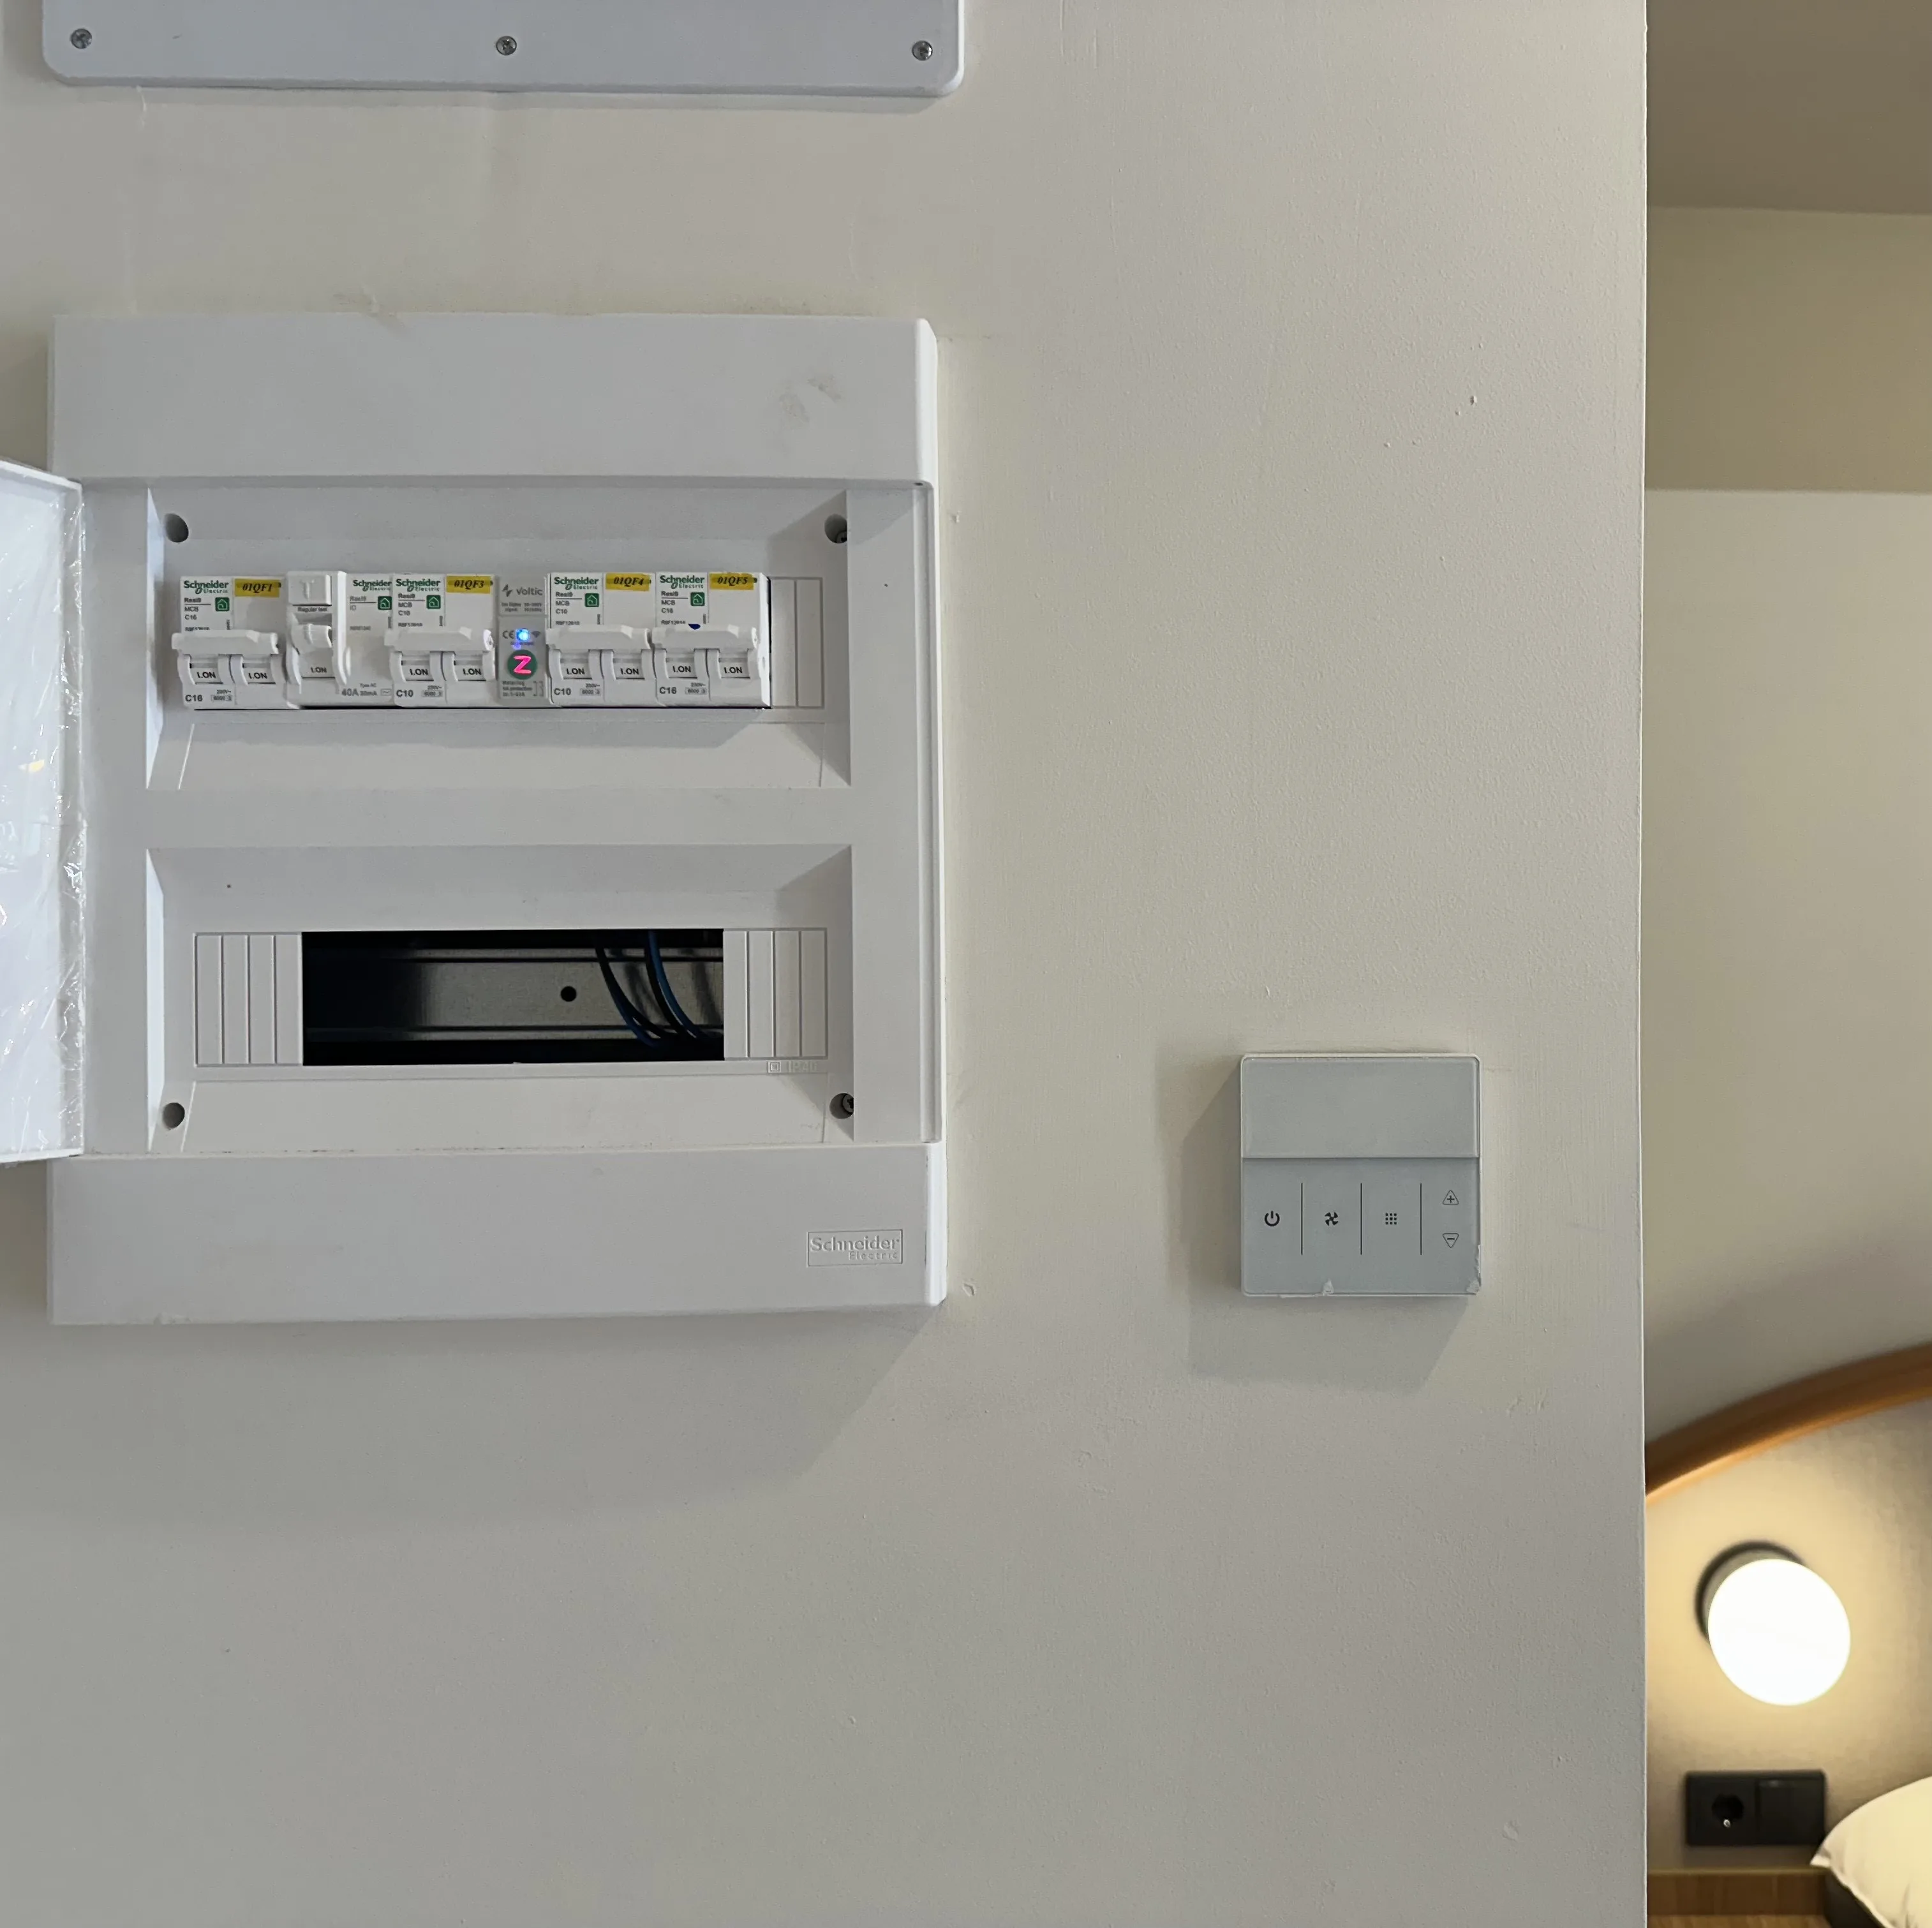
* **Away from** windows, doors, radiators, splits, and exterior walls
* Always connected to a **24h electrical line** (not controlled by a contactor or key card)
* On a **standard flush-mounting box** of 75x75x35 mm (compatible with 86x86 frame)
* Do not install in corners, behind furniture, or in places where air circulation is obstructed
Disconnect the power supply before mounting the thermostat. Do not touch the internal electronic board during installation.
## Connection and wiring
* **Power supply:** 230V AC / 50 Hz (exclusively via 230V line, no batteries required)
* **Maximum load:** 3A
* **Digital outputs:**
* Valve: 2-way (also compatible with 3-way valve)
* Fan speeds: V1 / V2 / V3
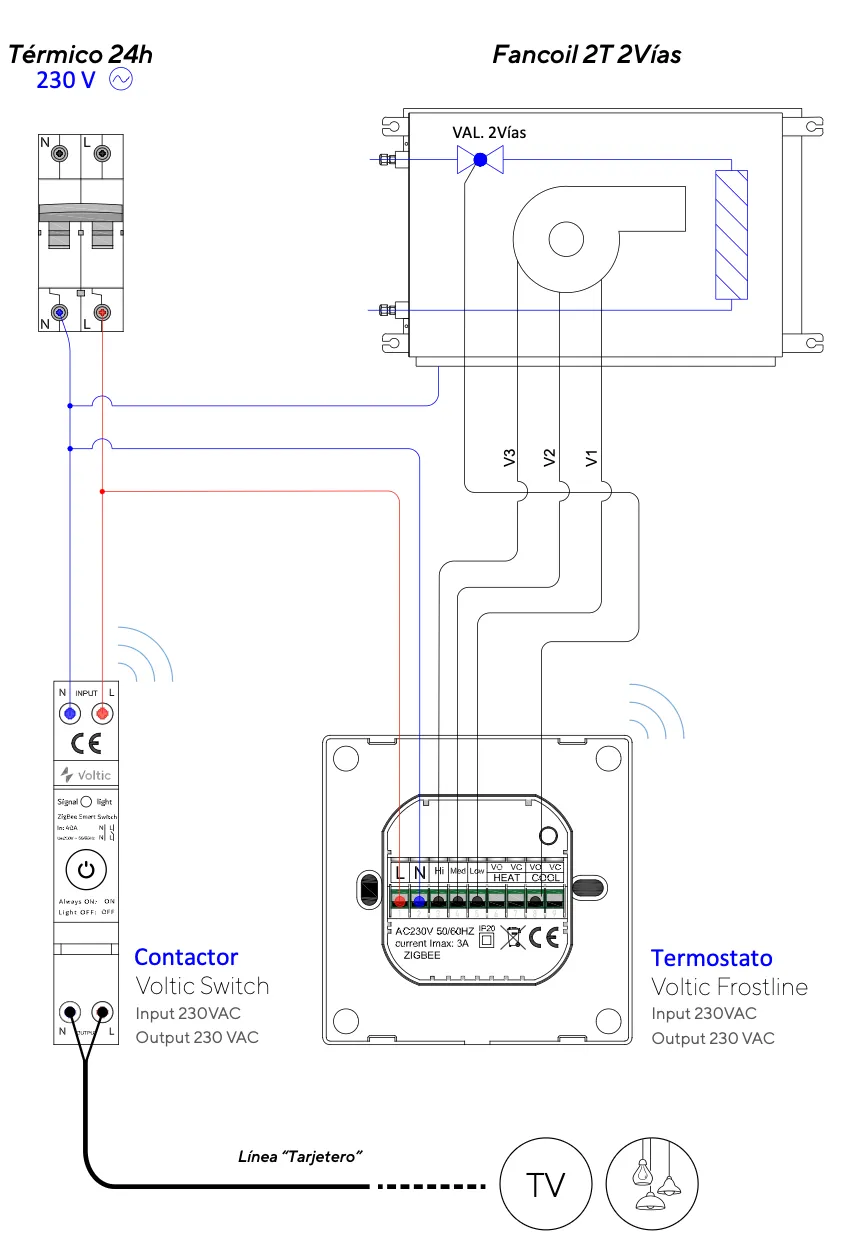
Connect only 230V valves. Do not connect 12V or 24V valves to the Voltic FrostLine.
## Mounting
* Direct mounting on universal flush-mounting box
* Screws included in the kit
* Ensure leveling for correct front panel fitting
## Placement examples
## Common mistakes
A tilted mounting creates poor contact with the box and can cause incorrect temperature readings. Make sure the thermostat is perfectly level.
If the digital output wiring is incorrect, the valve or fan will not respond. Verify the connection diagram before energizing.
The Voltic FrostLine is only compatible with 230V valves. Connecting low-voltage valves may damage the device.
## Post-installation checks
Confirm that the thermostat receives 230V at the input terminals and that the screen responds correctly.
Verify that the thermostat controls the valve and fan speeds according to the active mode.
Confirm on [app.voltic.es](https://app.voltic.es) that the device appears synced and reports temperature correctly.
## Related articles
* [Install the Voltic Switch](/en/installation/voltic-switch)
* [ECO and COMFORT modes](/en/operation/operating-modes)
* [Technical manuals](/en/installation/technical-manuals)
## Related topics
- [Frequently Asked Questions About the Voltic System](/en/support/faq.md)
- [Help Center](/en/index.md)
- [Voltic Device Installation Guide](/en/installation/index.md)